|
|
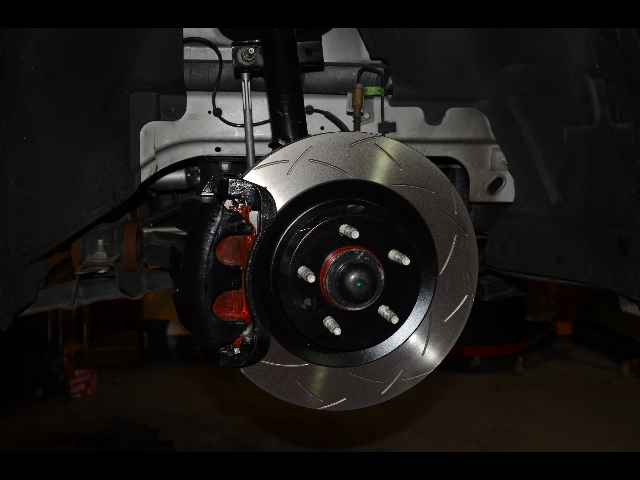
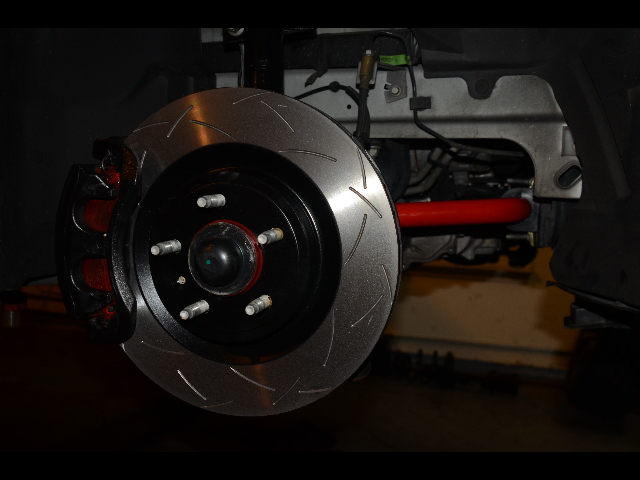
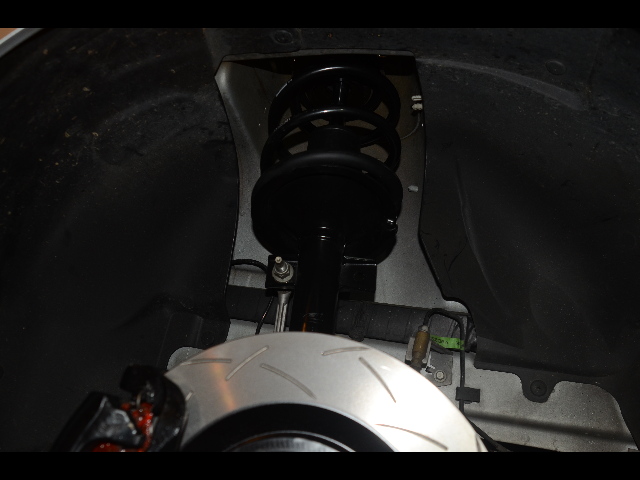
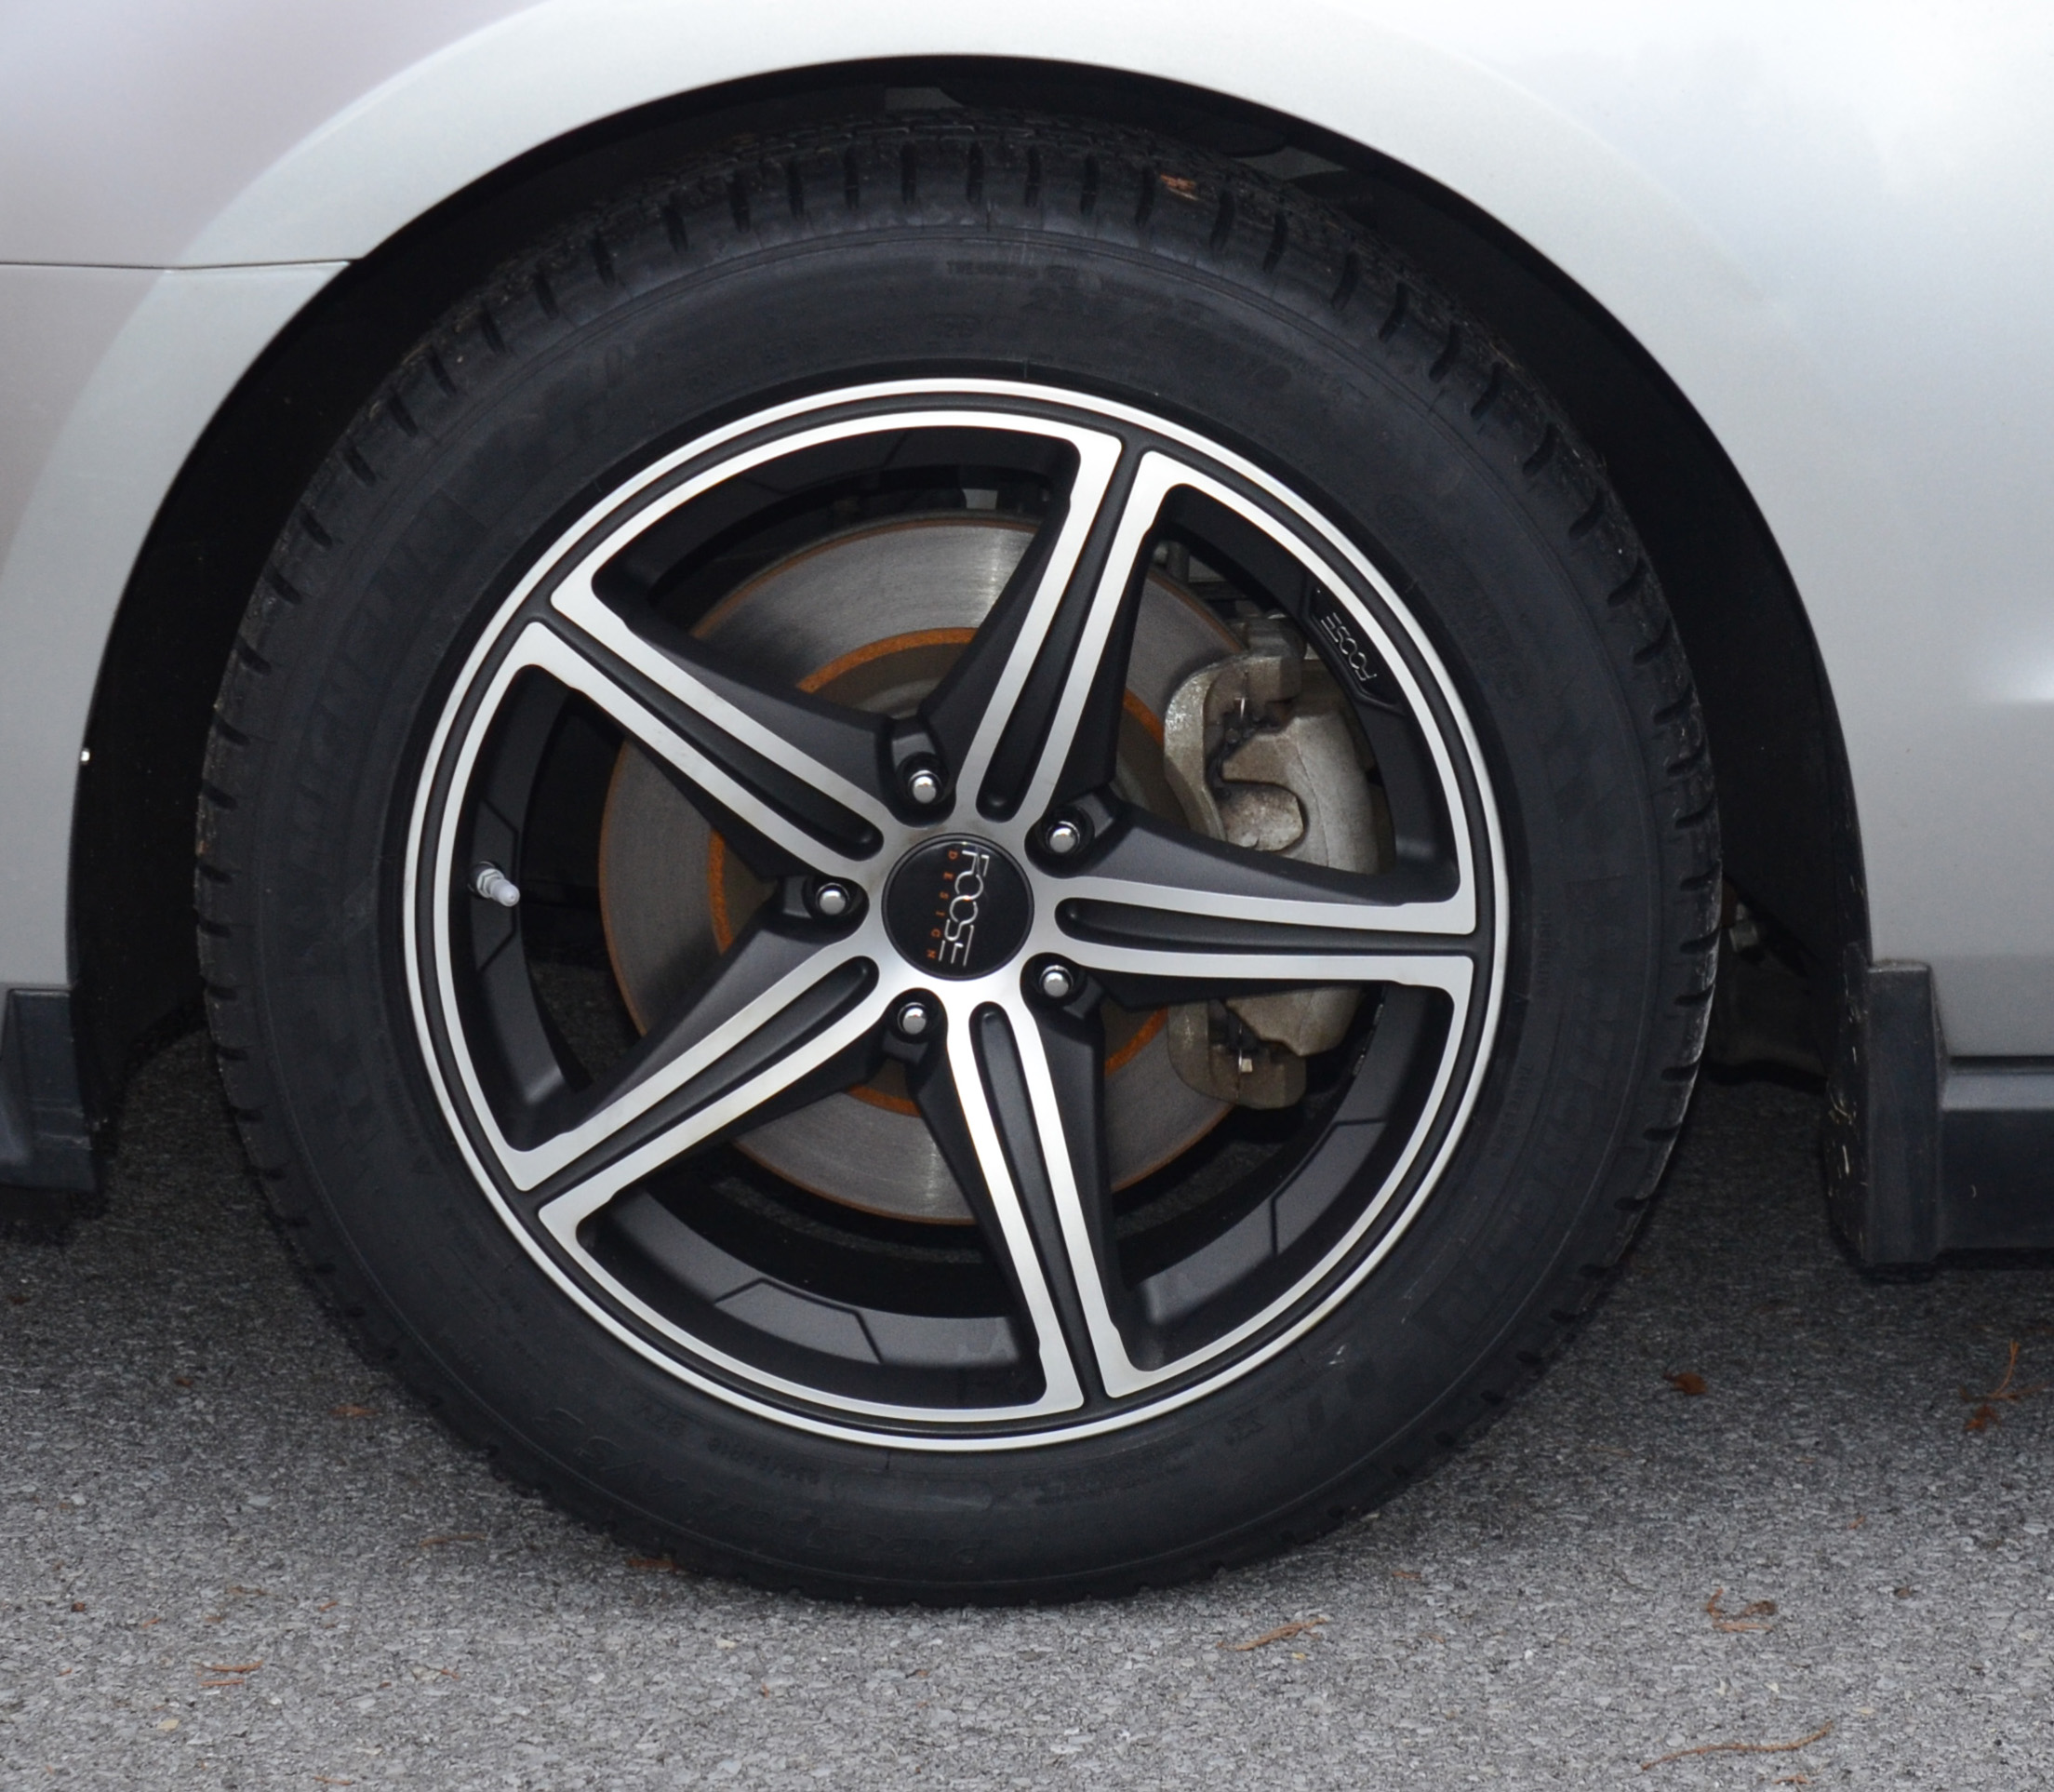
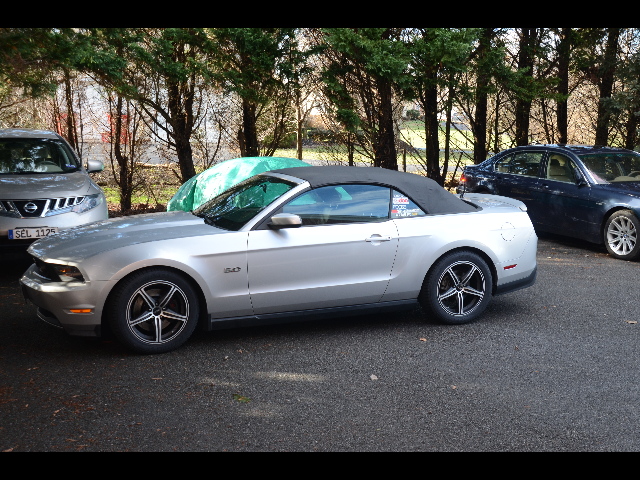
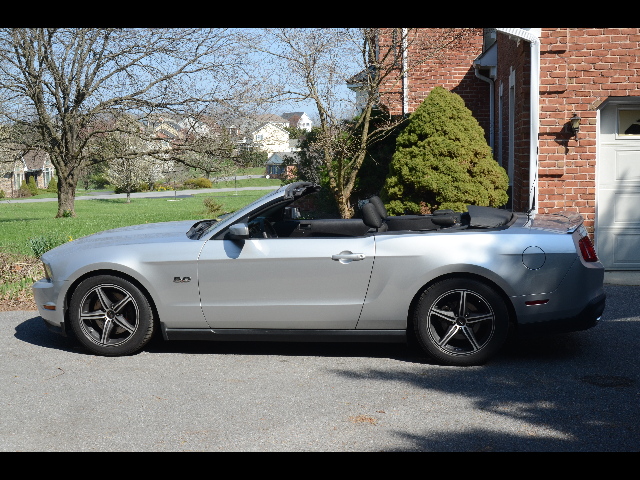
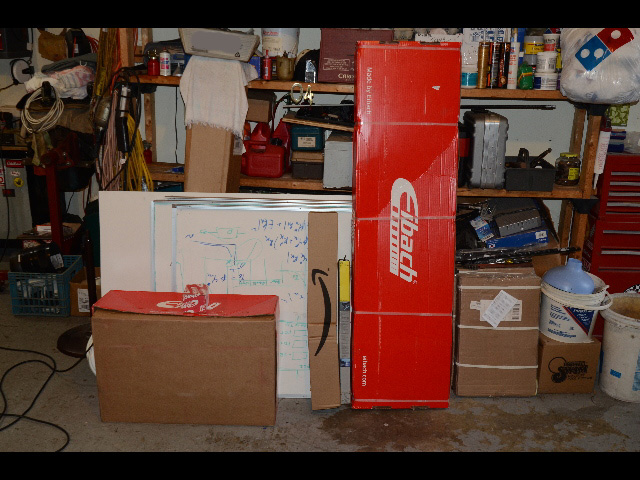
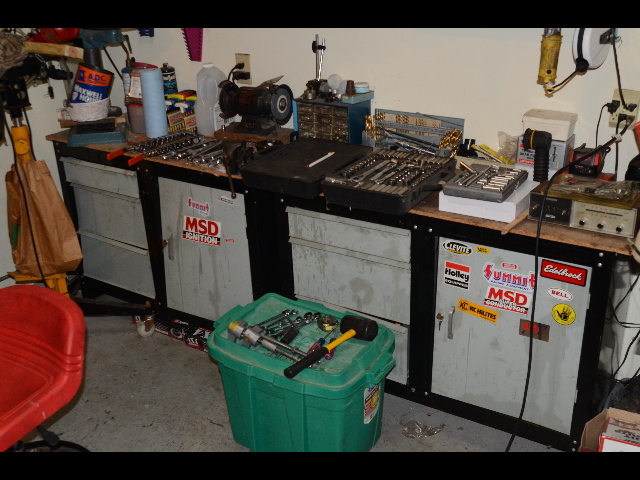
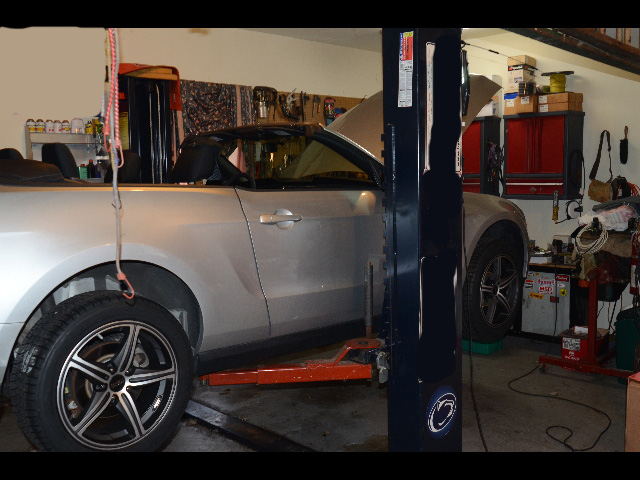
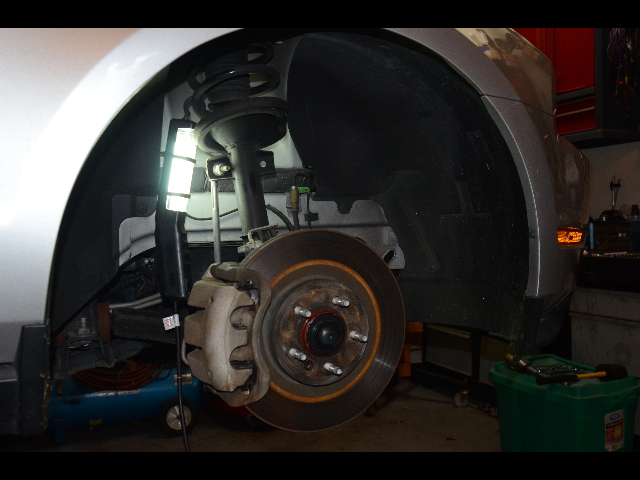
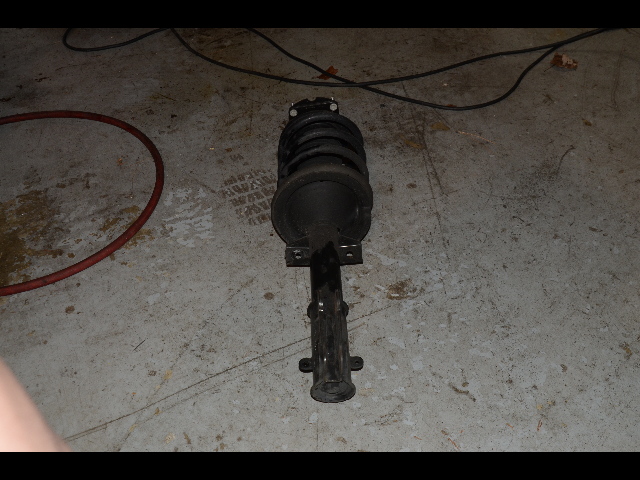
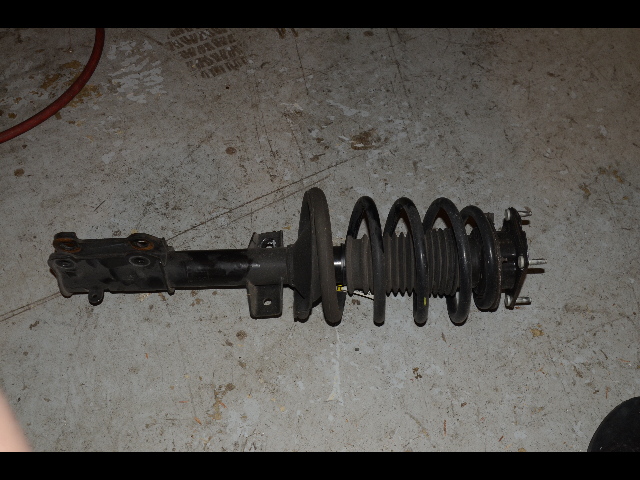
Handling & Braking Upgrade Pictures & TipsI started this work on Thursday December 24, 2015. I'm adding the Eibach struts, shocks, springs, and sway bars on the front and rear. While I'm at it I'm replacing the brake rotors with the DBA slotted units in the front and the Akebono ceramic pads all around. I also figured this would be a good time to paint the calipers black, with VHT high temp caliper paint (mistake!). Finally, while I have the front open underneath, it'll make life a lot easier for putting in the oil pressure sensor I'll need for the AutoMeter gauge project I'll be doing later. Below are as many useful pics as I could shoot while I was working. I've added hints, tips, and info as captions. I hope you find it useful. Get in touch if you have questions, or comments. I've been doing engine, car, and boat projects for close to 40 years now, so I hope my knowledge and experience will come in handy to someone. MK EMAIL: mkpony@mkpony.com Handling & Brake Install - December 2015Getting Started:First thing: Get your parts in place. Get all your tools laid out.
Getting To Work:Next, remove the strut tower brace.
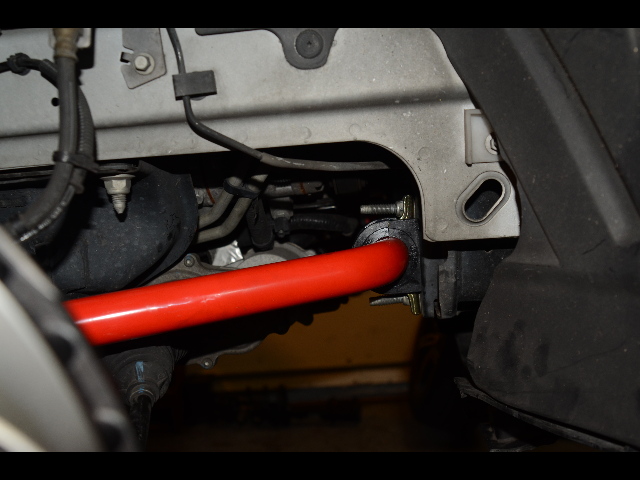
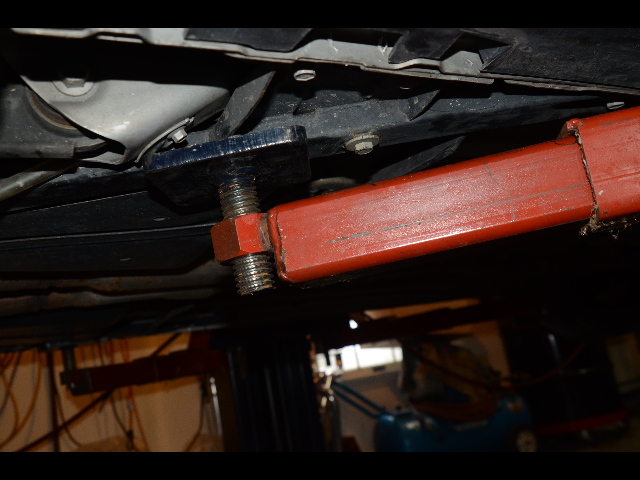
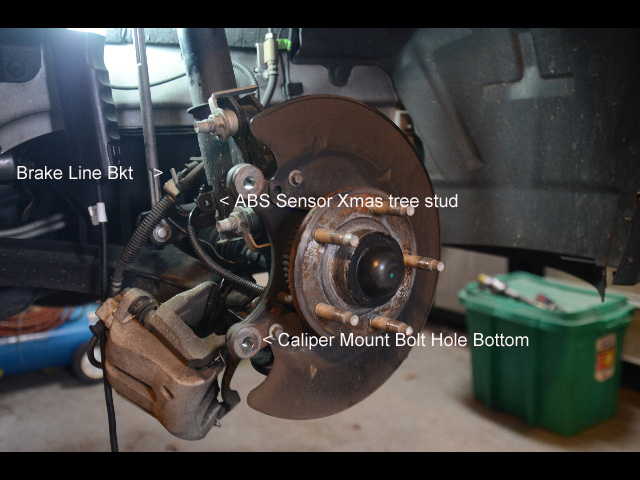
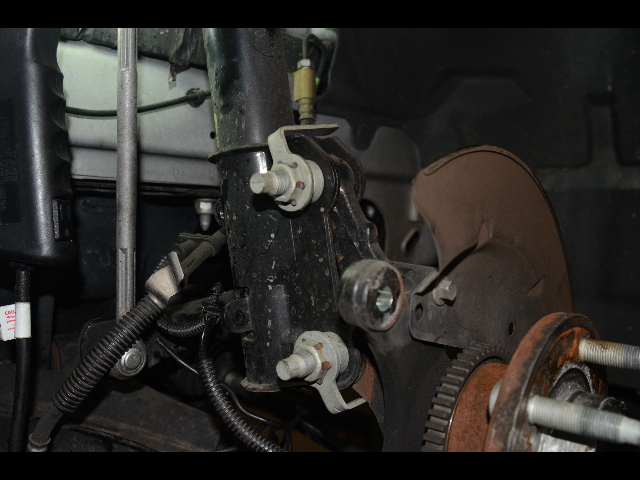
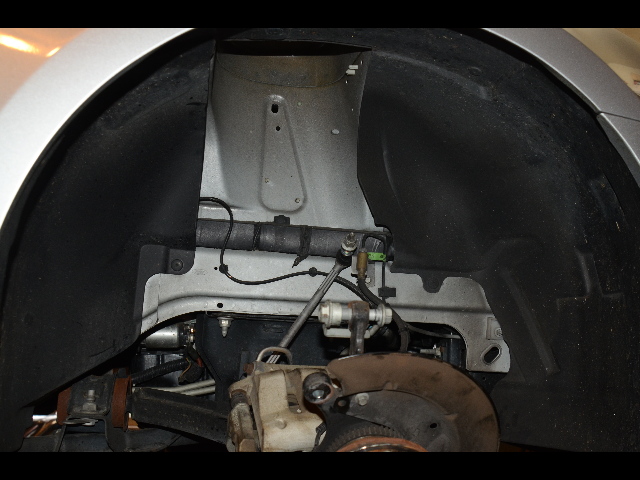
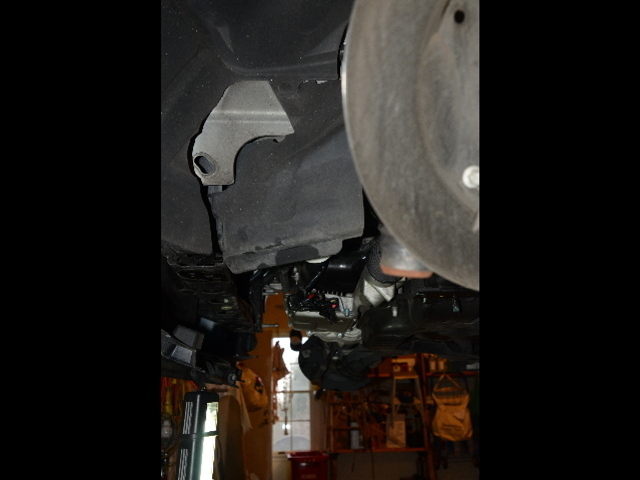
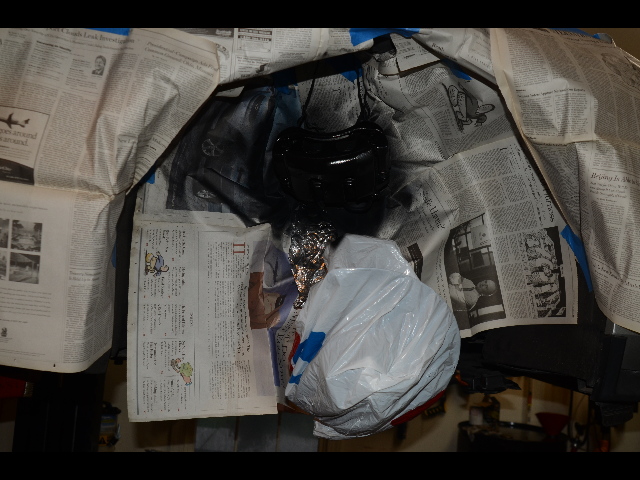
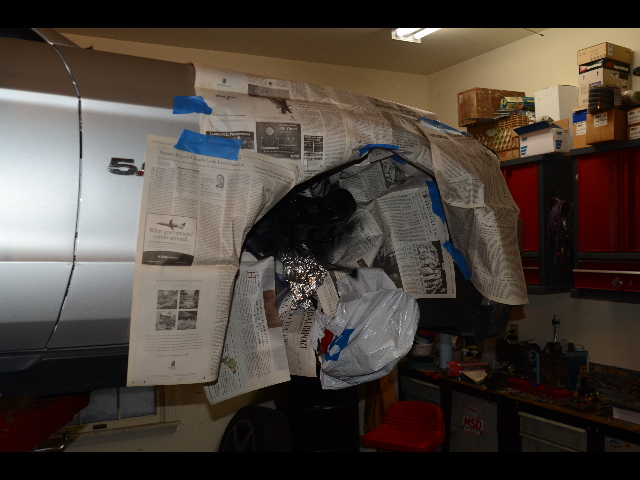
The Front Sway Bar:Drop the oil change access flap in the front. Then Undo all the bolts that hold up the plastic "air dam", or "undercover". Once it's loose you can access the front bolts that hold up the front brace structure (the thing the oil access cover is hanging on). Remove the front and rear bolts that attach the brace (2 left and right, front & back). Once the brace is off you can remove the nuts that are holding the strut bushings to the front frame. I found an air rachet w/ a deep well socket did a great job. Pull the sway bar forward and down. It comes rirght out. Make sure you make note of it's position and orientation, so you can put the new one in the same way.I'm sorry I don't have good pictures of the process, but I was very dirty at this point, and didn't want to handle the camera. I have some after shots. FWIW... Here's the cavity with the panel, and brace out, and bar removed.
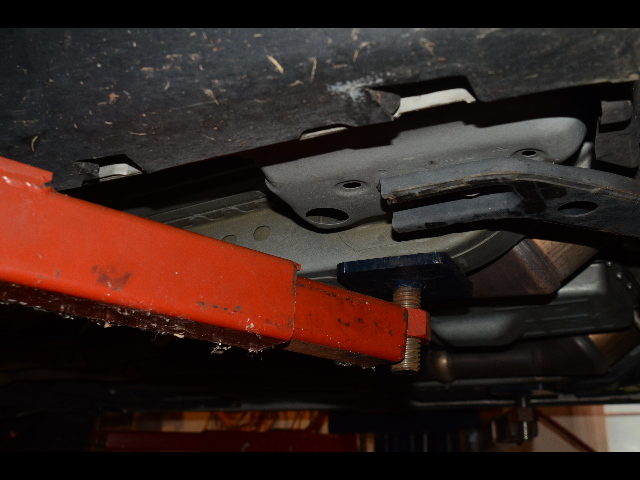
Here are the bar, brace and cover removed.
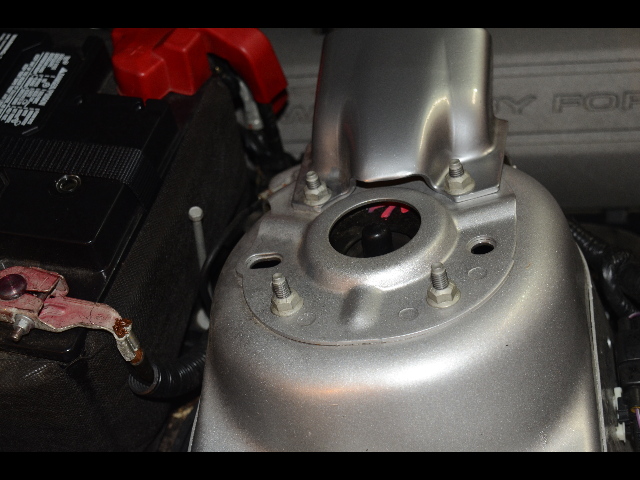
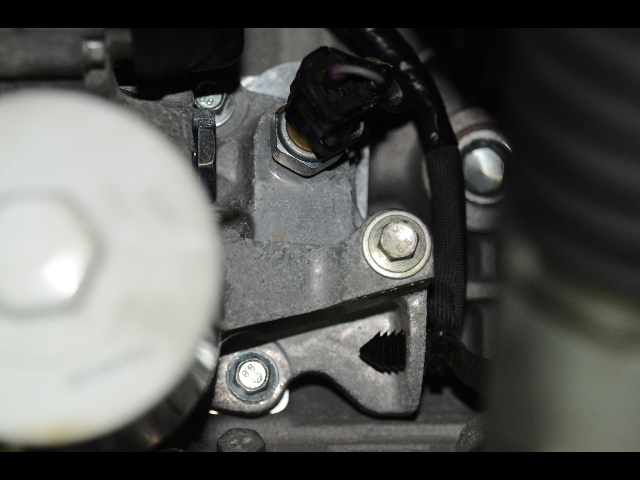
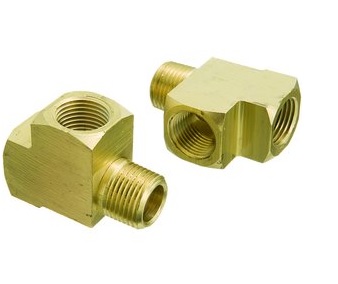
Prep for the Oil Pressure Sender:Now that all the "stuff" is removed from the nose. There is clear access to the oil pressure sender, next to the oil filter. This would be a good time to install the new oil pressure sender for the AutoMeter gauge that's going to be installed at a later date.But, wait! If I lose the original sensor, I'm going to have a non-stop dash error/check engine indicator. Rats! Plus, the AutoMeter kit has no option/adapter for retaining the original sensor. Time for some MK engineering. Off to the Inter-Tubes! The hole in the block where the current sensor threads in is 1/8" NPT, so what I'll do is buy a 1/8" Female NPT x 1/8" Male NPT Brass Run Tee (Eaton PN# 3750X2 - Picture Below). Screw the AutoMeter sensor in the top, and the current Ford sensor in the side, and then both can do their jobs! I may need to add a male/female NPT adapter under the tee, just to raise the height a bit so the Ford unit has the altitude from the block to screw in, we'll see. I tried to buy the plumbing at Home Depot, and AutoZone.. HA! No Such Luck. Had to mail order. Going to push the job out till it gets here. Finally, here's a good tip! NEVER use teflon tape, or RTV when sealing threads on oil, or fuel lines!! Little "shitties" can brake off from the tape, and nuggets can break off from the RTV, and get clogged up in the system. I HIGHLY recommend Loctite PST #592 as a thread sealer in these applications..
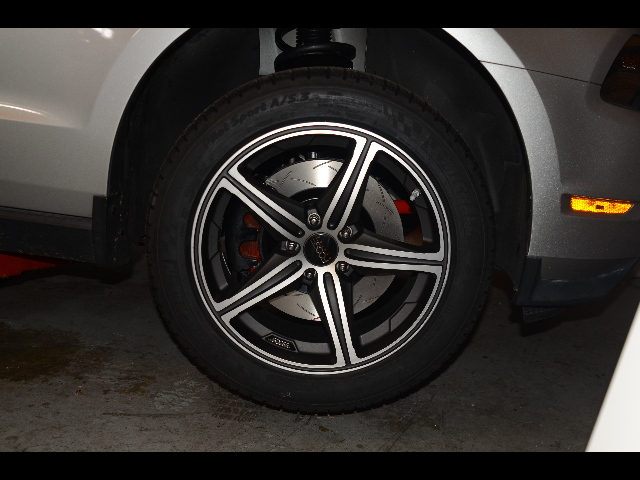
Sharif don't like it! Paint the Caliper, Paint the Calipers!:I decided that while I'm doing ALL this work, I'd really like to have some nice looking calipers showing through those Foose wheels. I looked at "Caliper Covers". Jeebus! $200 for some POS clip on garbage? No Thanks! So I decided to just paint them black with Rustoleum gloss black caliper paint. The RustO web site says AdvancedAuto has this in stock. Well, guess what, as usual, they got squat. If I want fuzzy dice, floor mats, or blue paper towels... Advanced Auto is the place to go! Otherwise, furgetaboutit!All they had was DupliColor (NFW!), and VHT. OK, I'll take the VHT. Not my favorite company, but I'll give it a shot. Below is what I did, and the pictures. I masked off the wheel well, the surrounding fender, and suspended the calipers from the now open strut tower with the wires that were keeping them otherwise from tugging on the hoses. I sprayed down the calipers with the VHT brand "caliper cleaner", then wire brushed the caliper with my air drill and a wire wheel, then I used a scotch bright pad to further scuff & clean the calipers. I used some tin foil to protect the pistons from any paint spray. (Good hint! Tin foil works well to wrap around wires and hoses as a masking agent.) I sprayed a coat of VHT, let it dry for a couple of hours, then gave a light 2nd coat to cover any light spots and even the job out. I let it dry overnight. The next morning I got up and inspected the job after 12 hours of drying. SUPRISE! The paint was flaking off of the calipers! They were perfectly clean & grease free. Well scuffed and prepped. So much for VHT caliper paint! When I ordered the plumbing parts for the oil sensor (above) I ordered RustO caliper paint. Go with your gut! Go with the best.. Time wasted here. :-(
I worked on Pony on 12/24, 25, and on 12/26 until noon. Then the paint issue, and parts/tool issues brought me to a halt. Over the next few days the ordered items began to arrive and I started work again in the evenings after work.
Below is the final oil pressure plumbling job. Added an adapter up against the block for some altitude, then the "Street Tee" and put the OEM sensor in the side with the AutoMeter sensor in the top. Perfect fit. Used the loctite on all the threads, and after all was done I ran the car for about a 1/2 hour to make sure there were no leaks. All was A-OK!
|


 Repeat on the other side!!

 This Story To Be Continued!
 This Story To Be Continued!